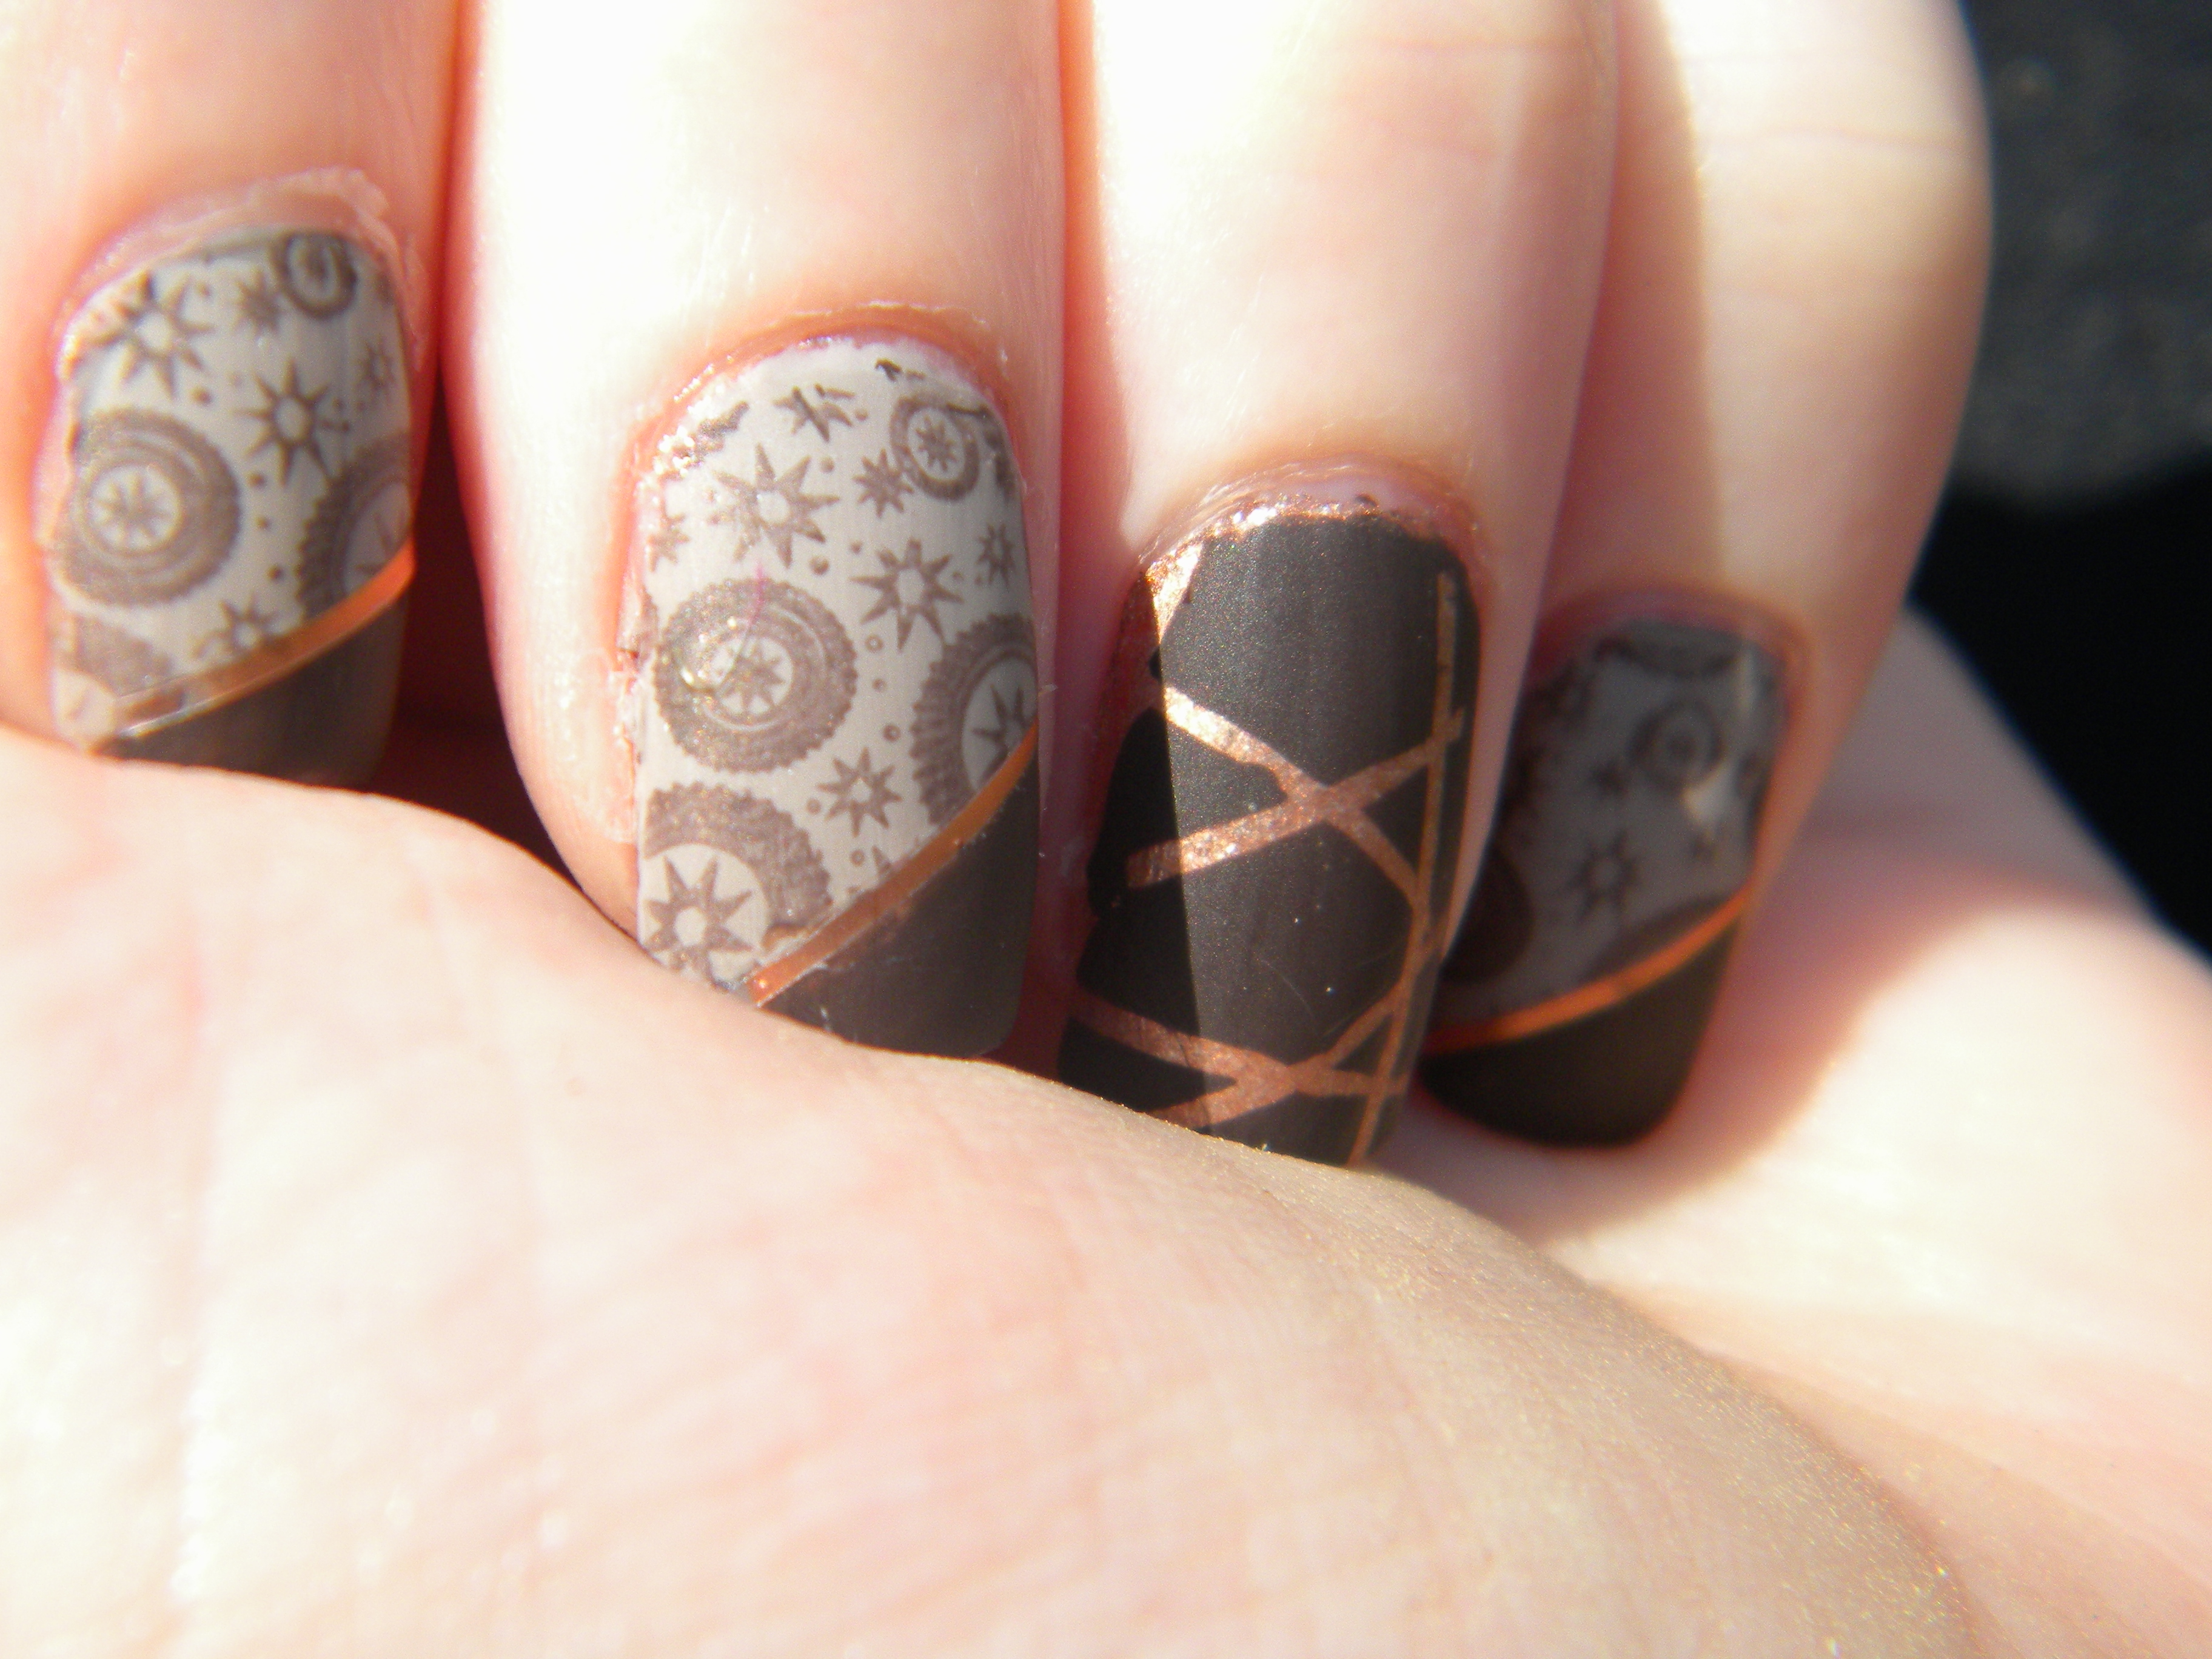
Steampunk nails!
Okay, so I just got a new set of stamps (that I’m actually planning to review for you all soon!) and I ADORE some of the designs on them! I was particularly inspired by a plate that had a full nail stamp with gears. Cause, c’mon, who doesn’t like gears? Commies, that’s who. ‘Murica.
Anyways, now that I have inarguably proven the superiority of gears as a design element… I played with a lot of new poses this time taking my photos, probably because I had just read some various blog posts about taking good photos of your nails. I think my favorites were this one from Sarah at Chalkboard Nails and this one from You’ve Got Nail (LOVE that name!).
This manicure took a lot of planning and experimentation. Usually I plan my manicures by playing with the different colors I’m thinking about using, before I even remove my old manicure. I do this for two reasons, one, I’m lazy and I don’t want to remove the old polish and then remove all my testing polish a separate time, and two, I figure this way I’m protecting my nails from the polish, because if I’m just testing, there is no way I am going to be painting a base coat first. This part is extremely fun, because I’m not worried about messing anything up and some of my fingers end up with like 2 different rejected attempts under the top layer (that’s not even including the original manicure that I’m painting over!). This testing step is pretty important if I’m going to be stamping, as not all polishes are good stamping polishes and it’s better to find out before I’ve done all the work of carefully painting on a base color.
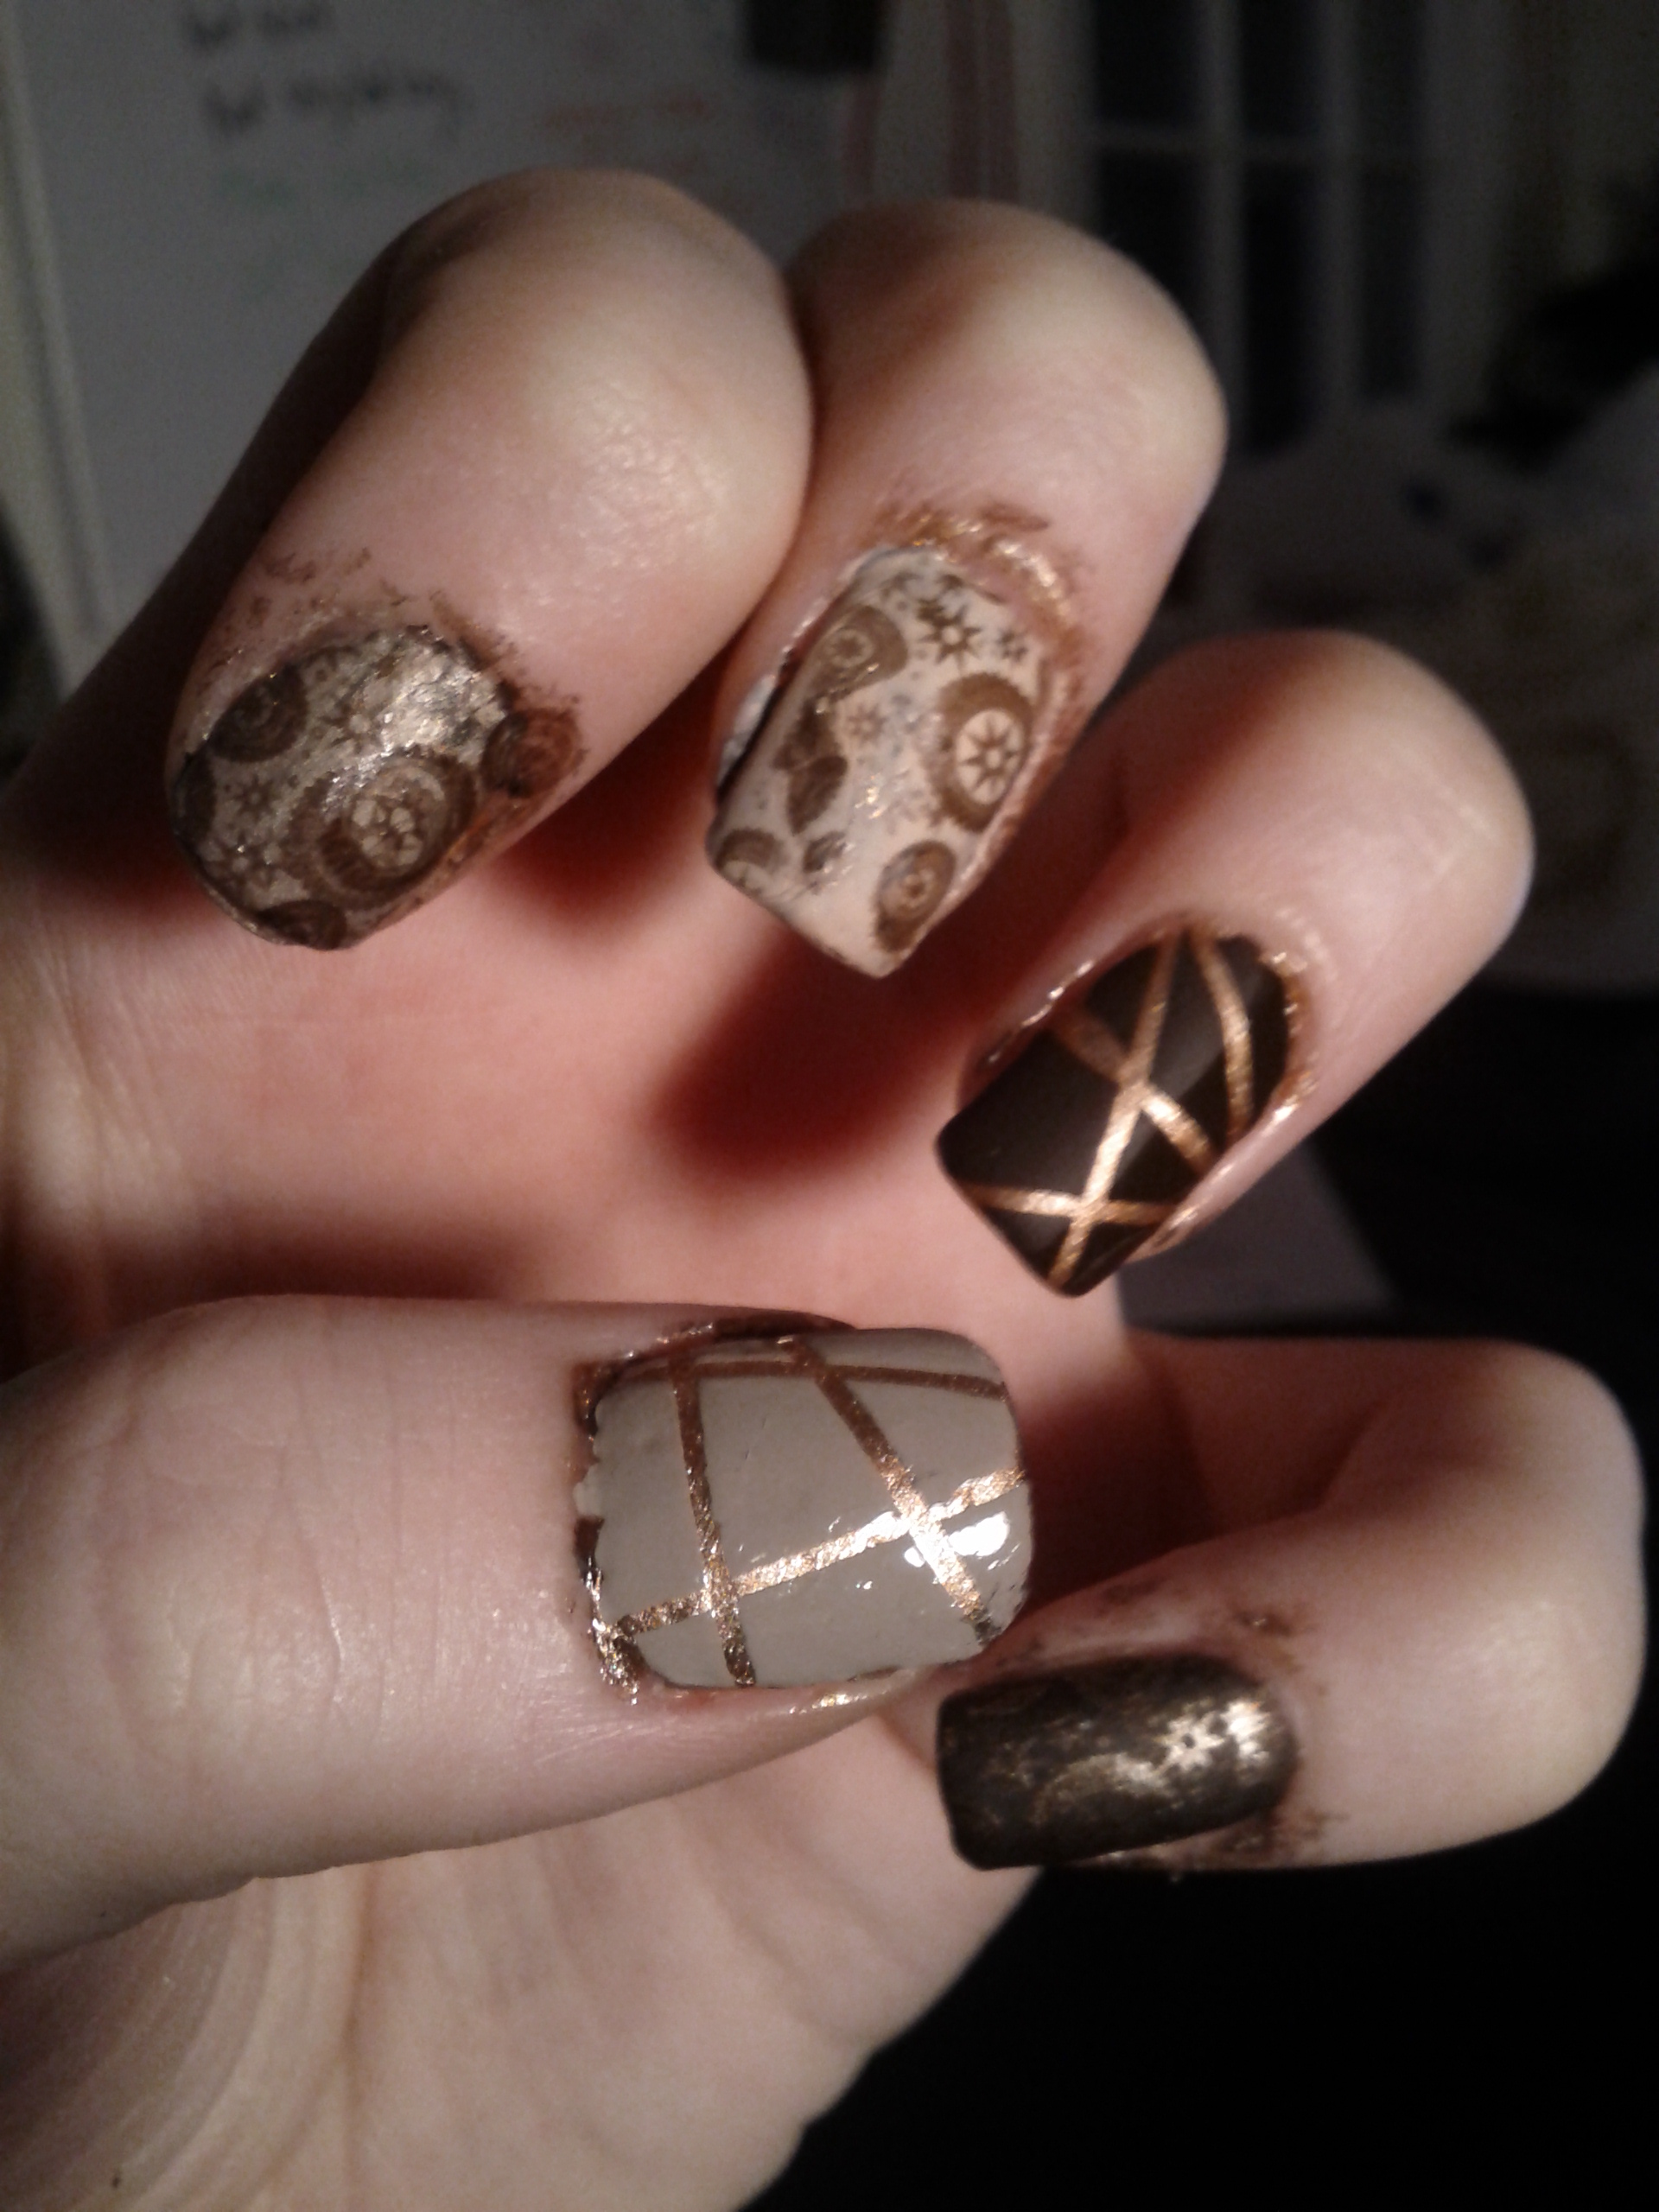
All I knew for sure was that I wanted to incorporate copper polish in there. Copper just screams “Victorian Era machinery” to me. It didn’t quite stamp well enough, BUT I did just recently learn how to properly use striping tape to create patterns with polish (take the tape off when the polish is still wet to keep those crisp lines). I loved the accent nail with the copper and brown, and I ended up using the taupe on my thumb under a shimmery brown polish I have.
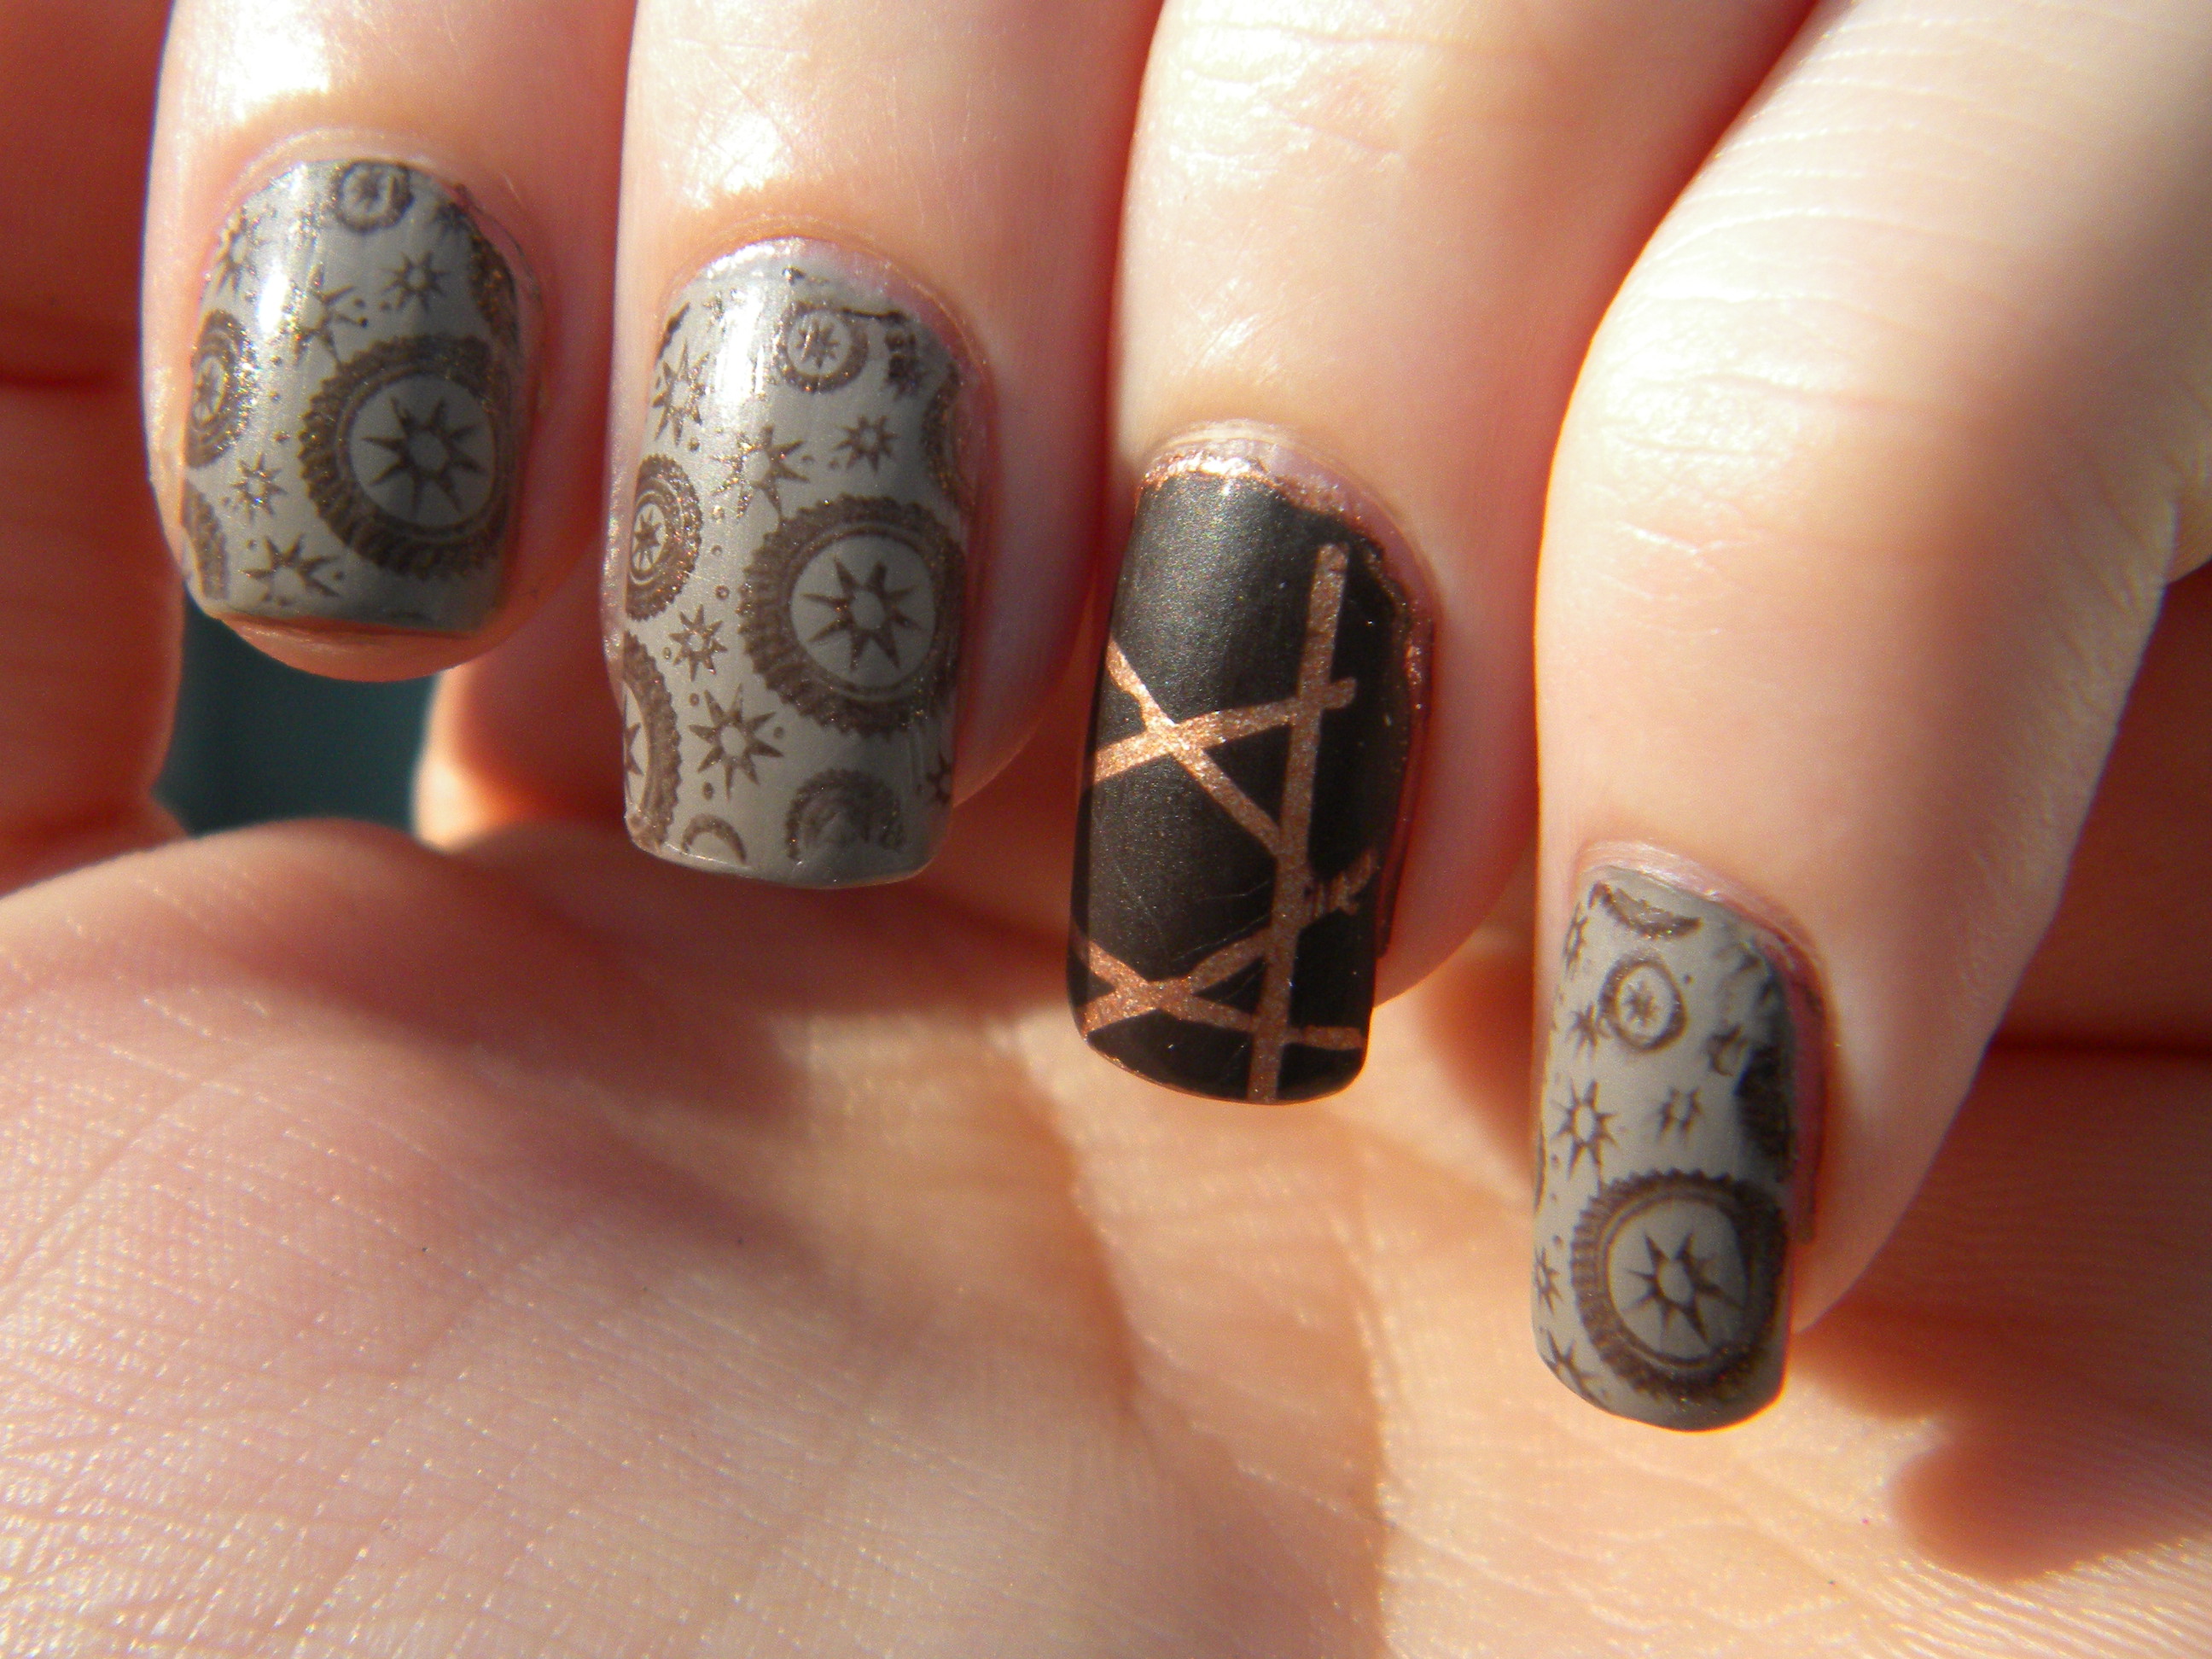
Mattifying the final result just made it seem all the more vintage-y to me.
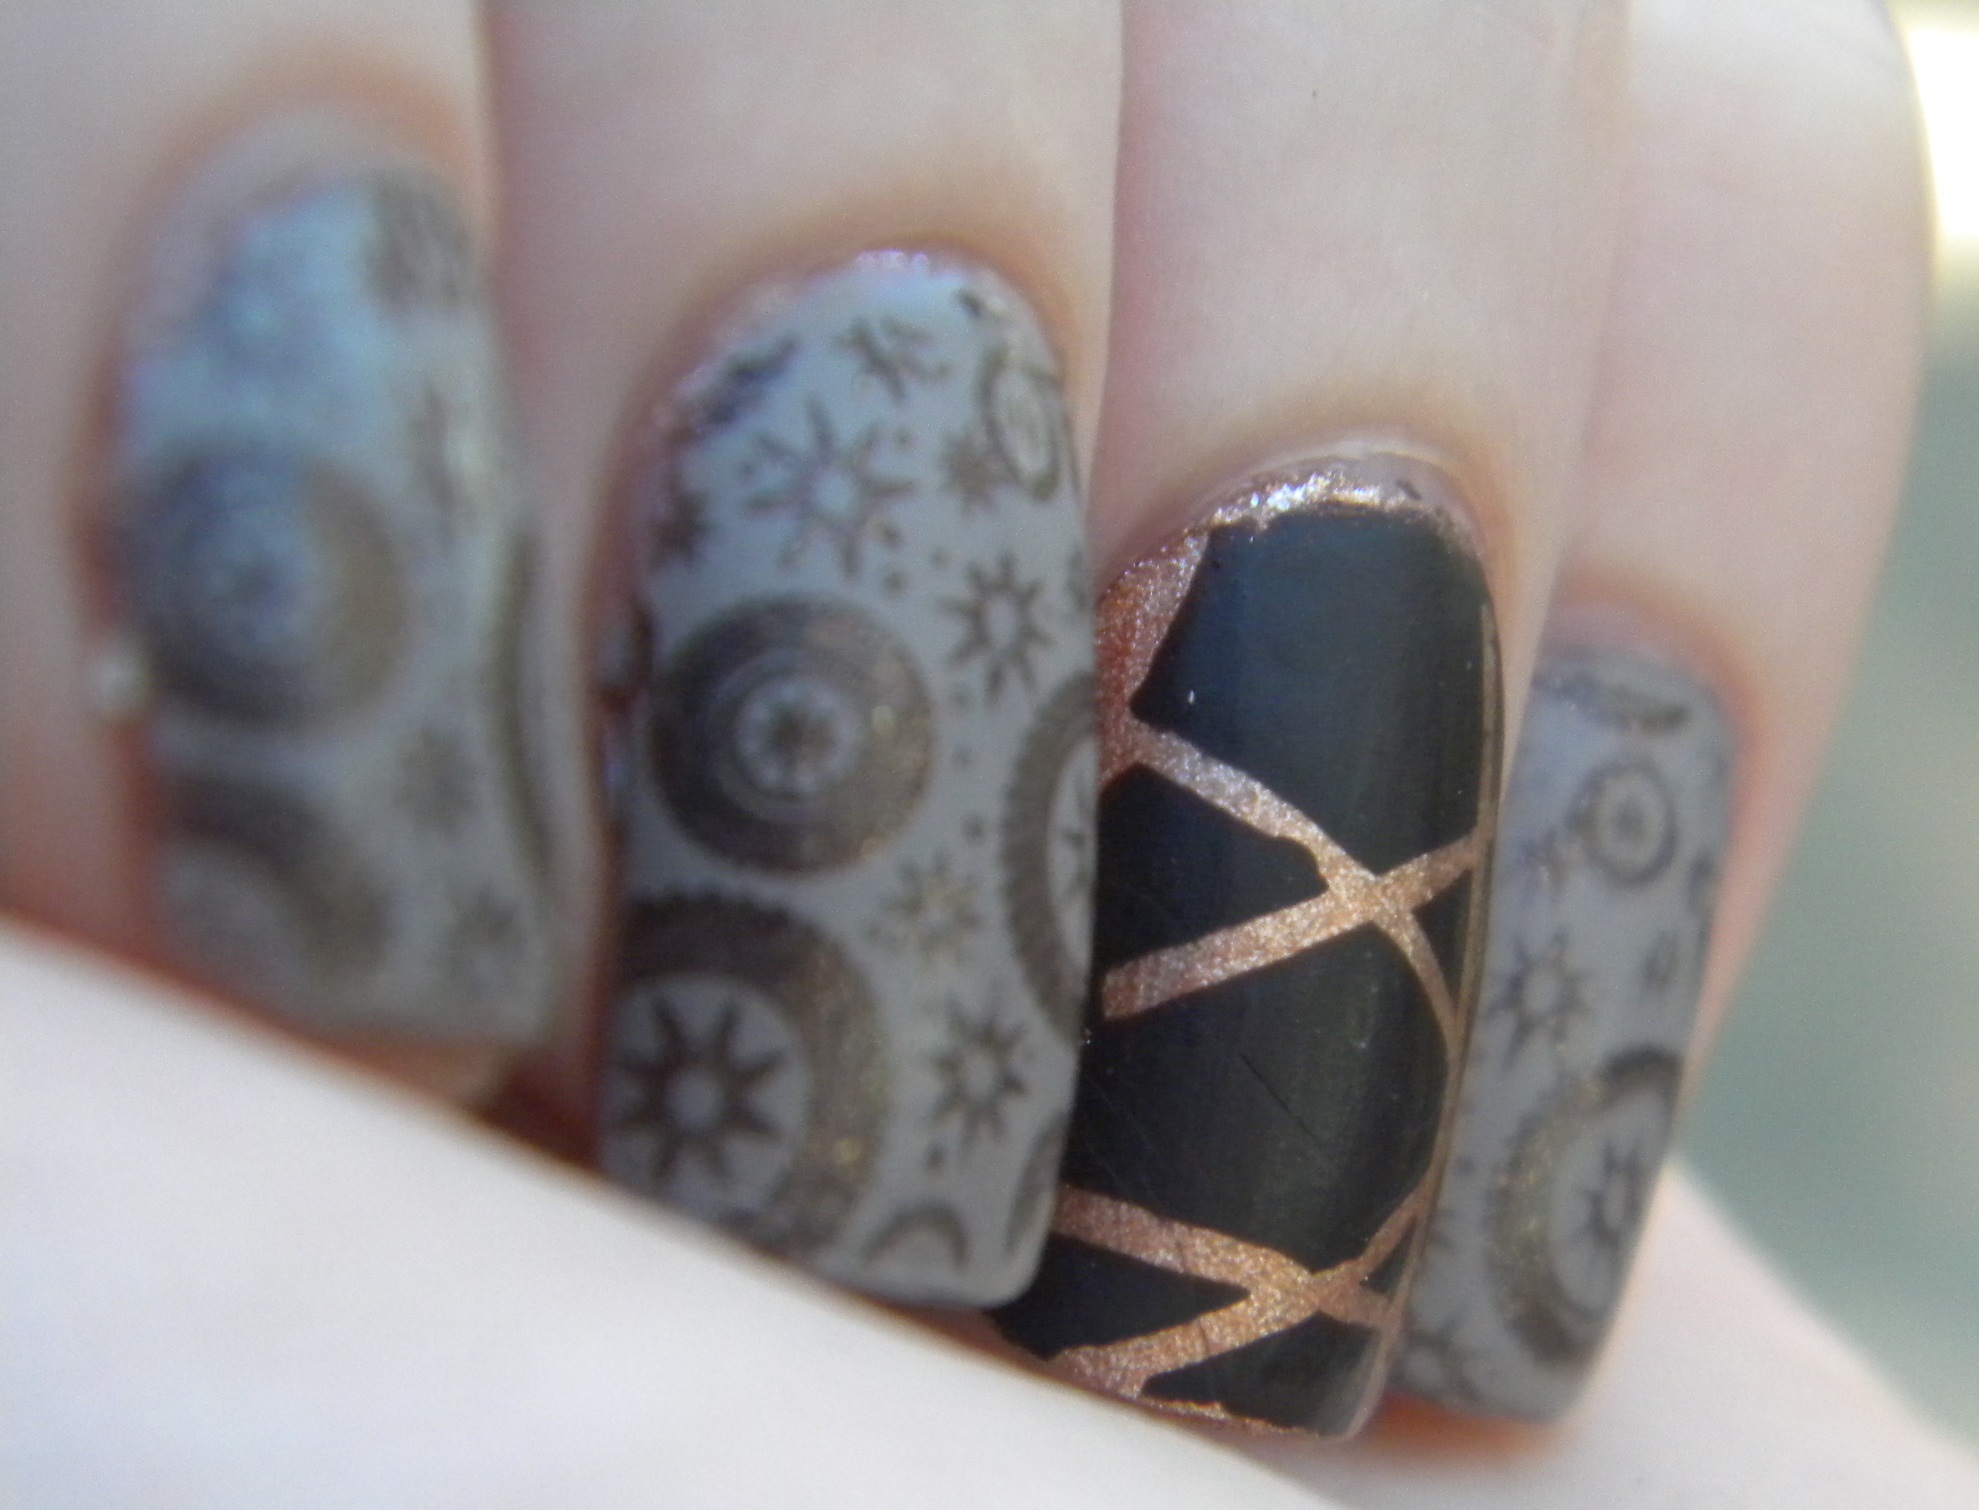
New pose! I like the idea of focusing on one nail, particularly when I do things like break the nail on my index finger, or smear the stamping on my pinky nail.
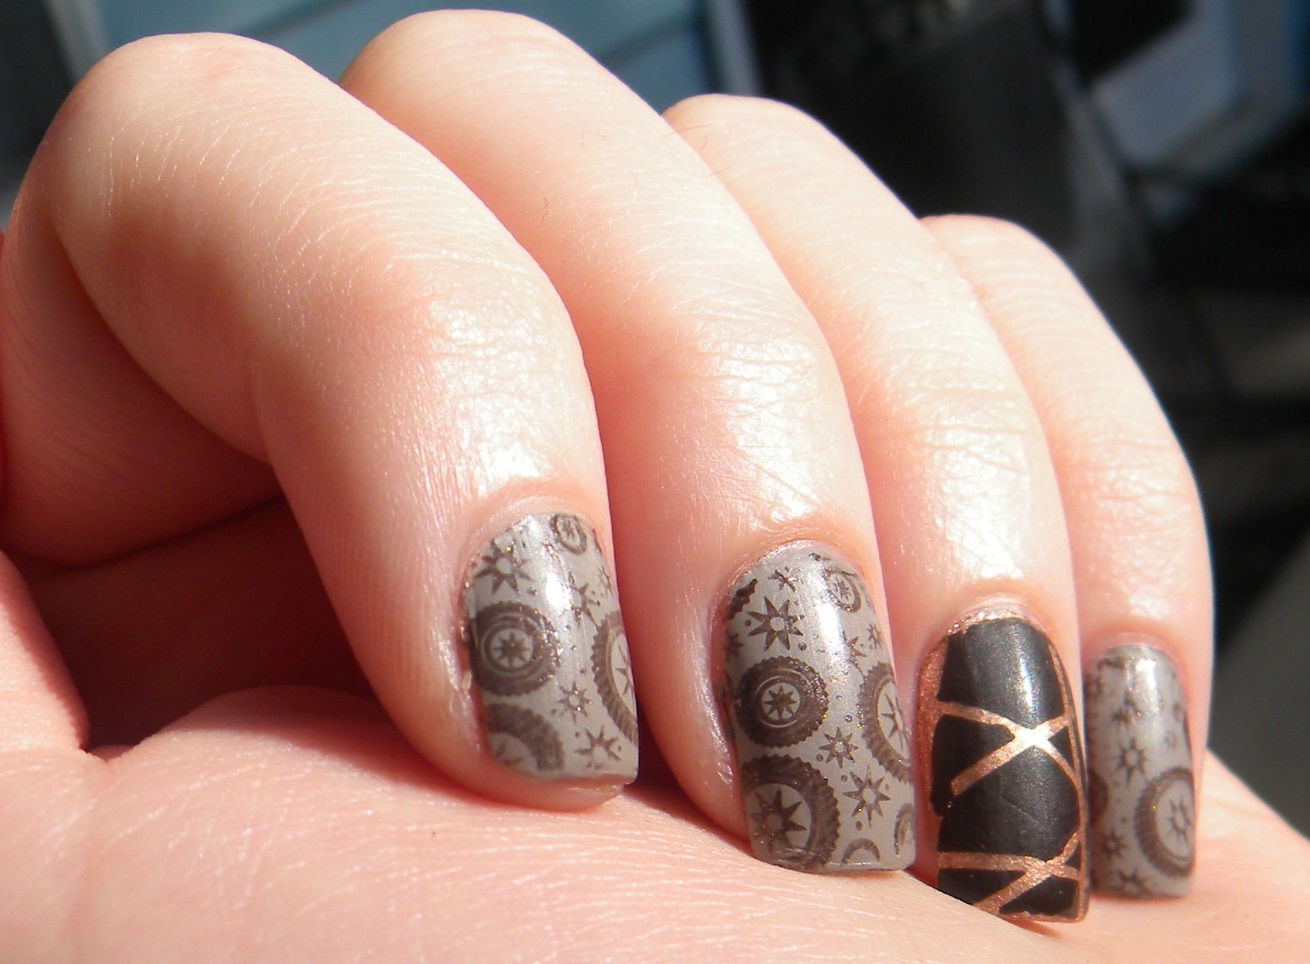
The shimmer in the brown did not show up against the mattified taupe as well as I had hoped, but it looks quite nice still. Now, I actually meant to do more to these, as I had found a really lovely copper striping tape, but I lost the striping tape halfway through the manicure! Luckily, my sister found it…in our living room? I do my nails while sitting in my bed (which I do not recommend; it’s much better to have a flat surface), so I have no idea how the tape ended up there.
I tried to just add the tape without adding any sort of topcoat, because I wanted to keep the matte effect of the polish without making the shiny tape matte, but striping tape isn’t really a fan of that idea so I threw some Seche Vite on top.
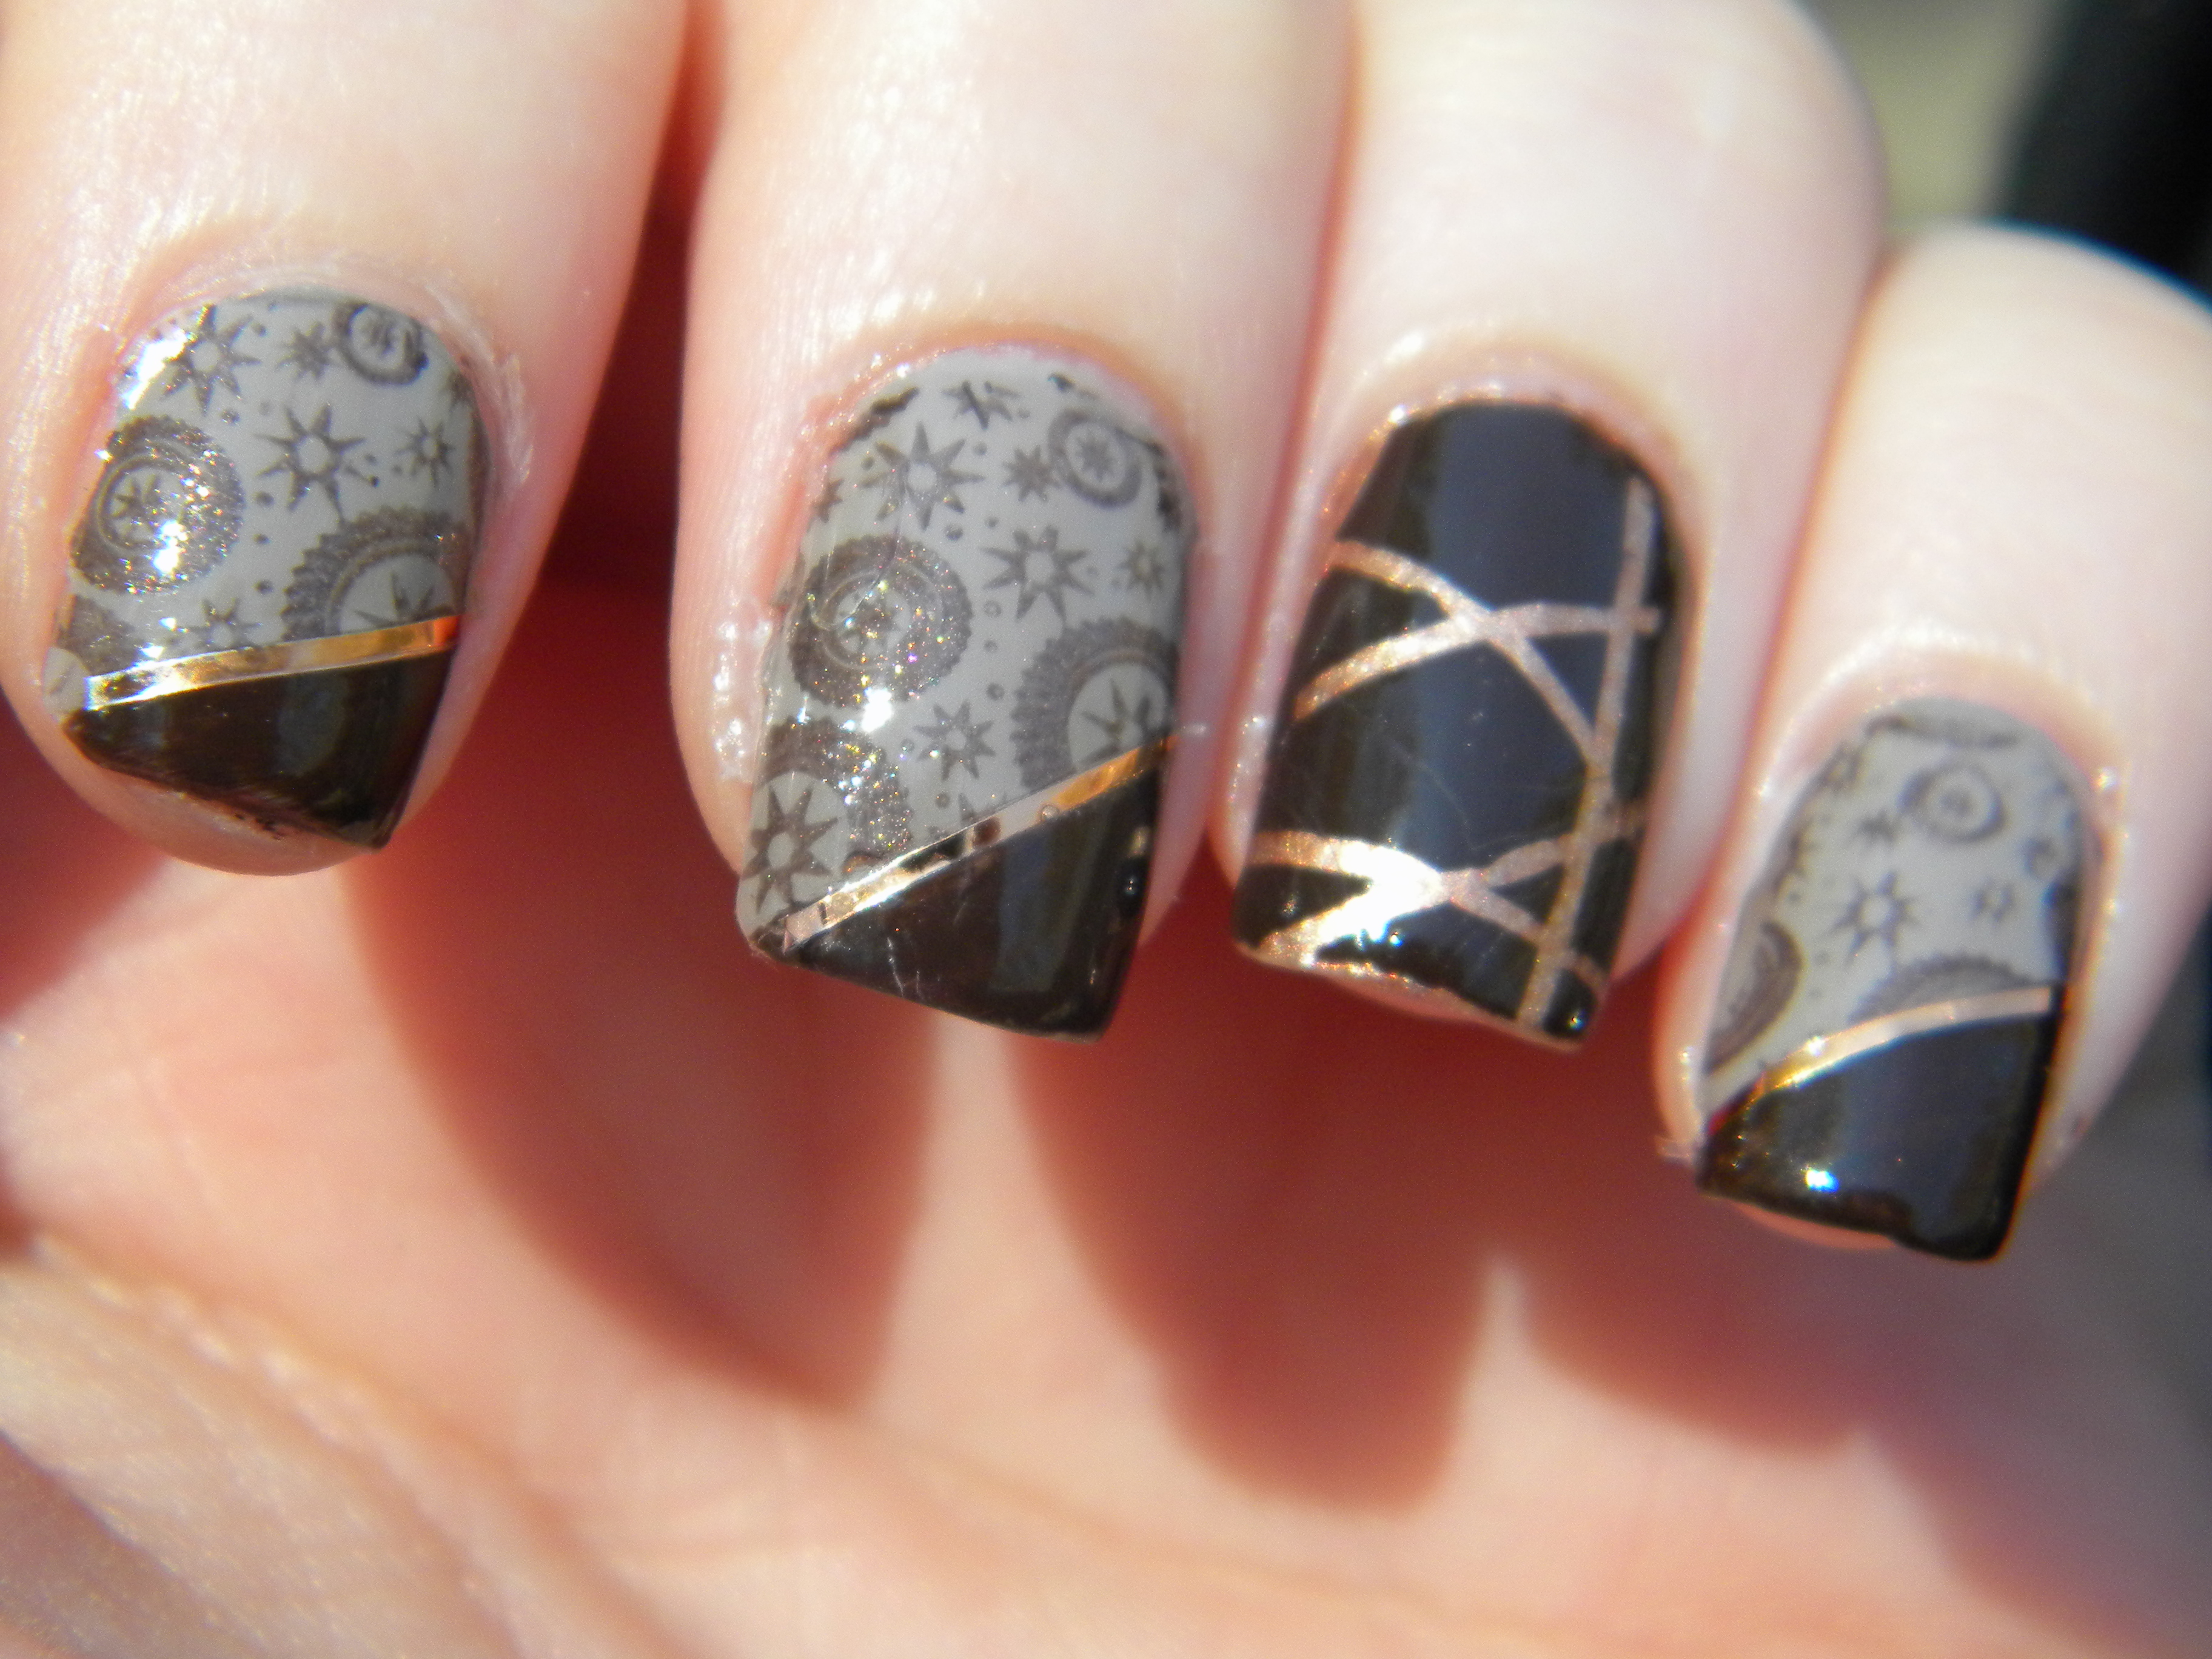
The for good measure I mattified them anyway, like 15 minutes later. They looked nice all glossy, but matte just felt right.
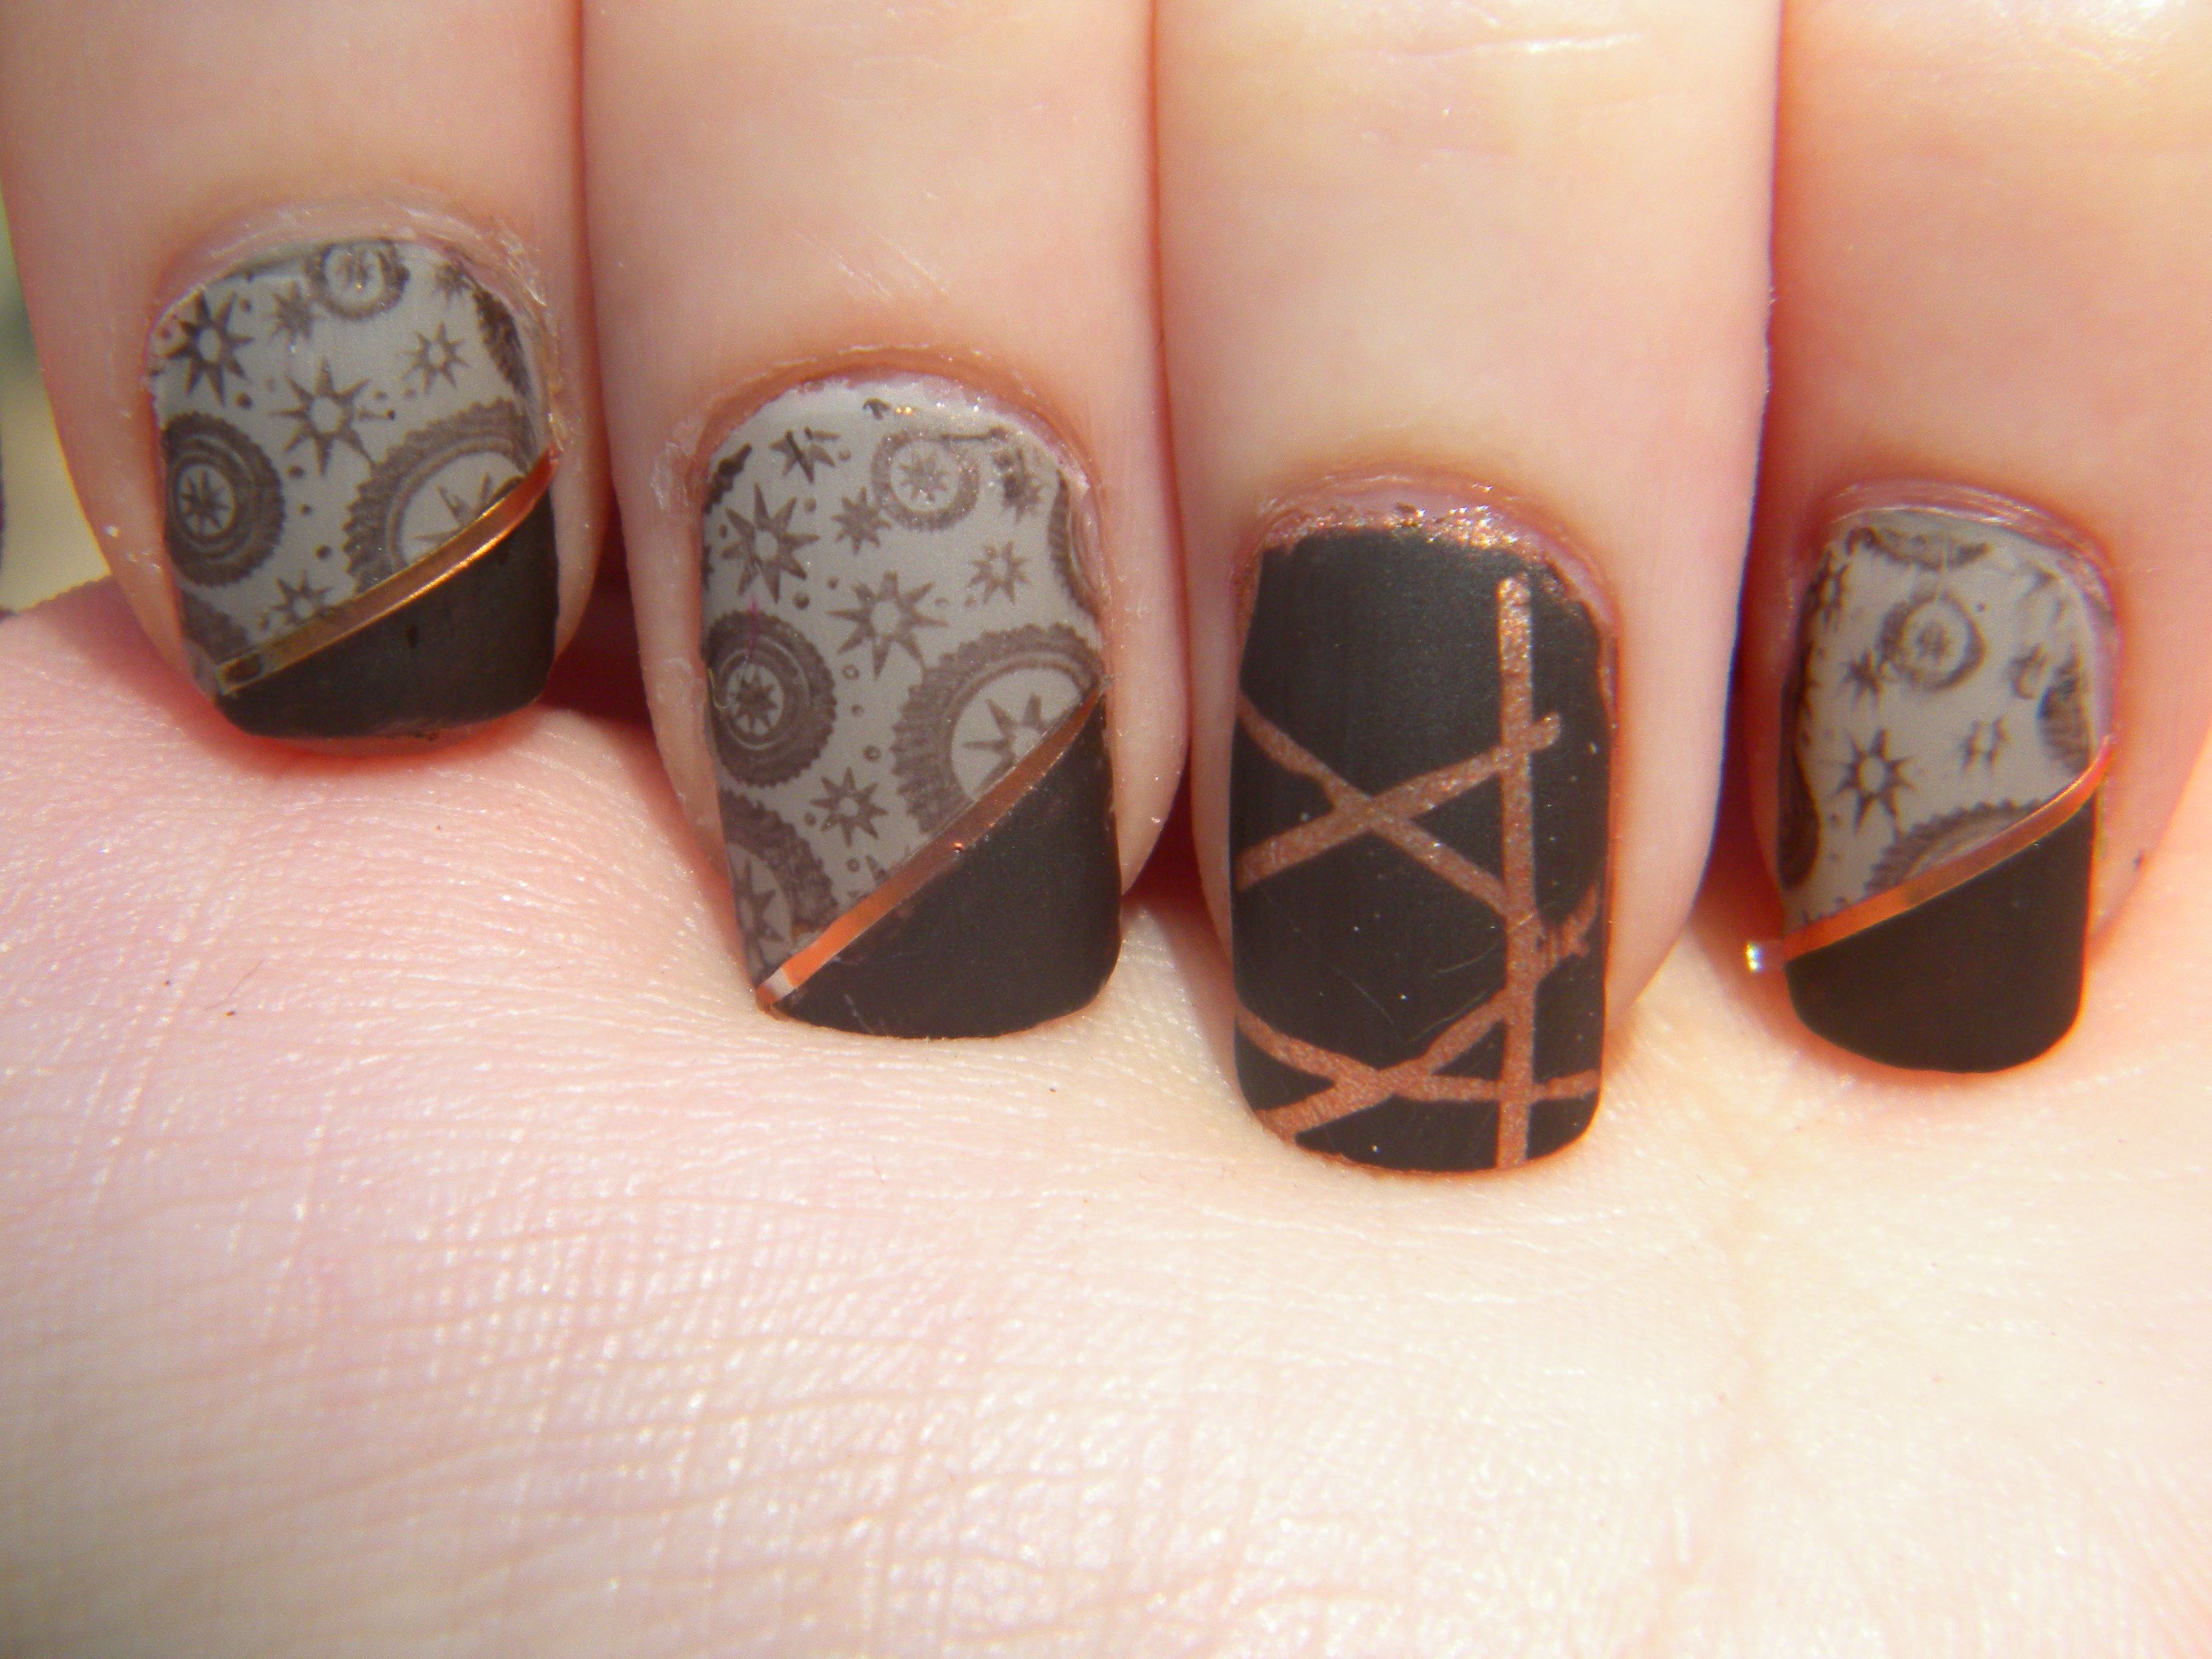
Not gonna lie; I’m holding down the striping tape on my middle finger in this pose. Stupid striping tape. Look so cool, but hates to actually stay where it belongs.
And of course, while I took all these photos, my cat was twining herself around my legs, loudly trying to explain to me that, whatever I was doing, it was really stupid and that I should instead be paying attention to her. So of course I had to take a picture of her too.
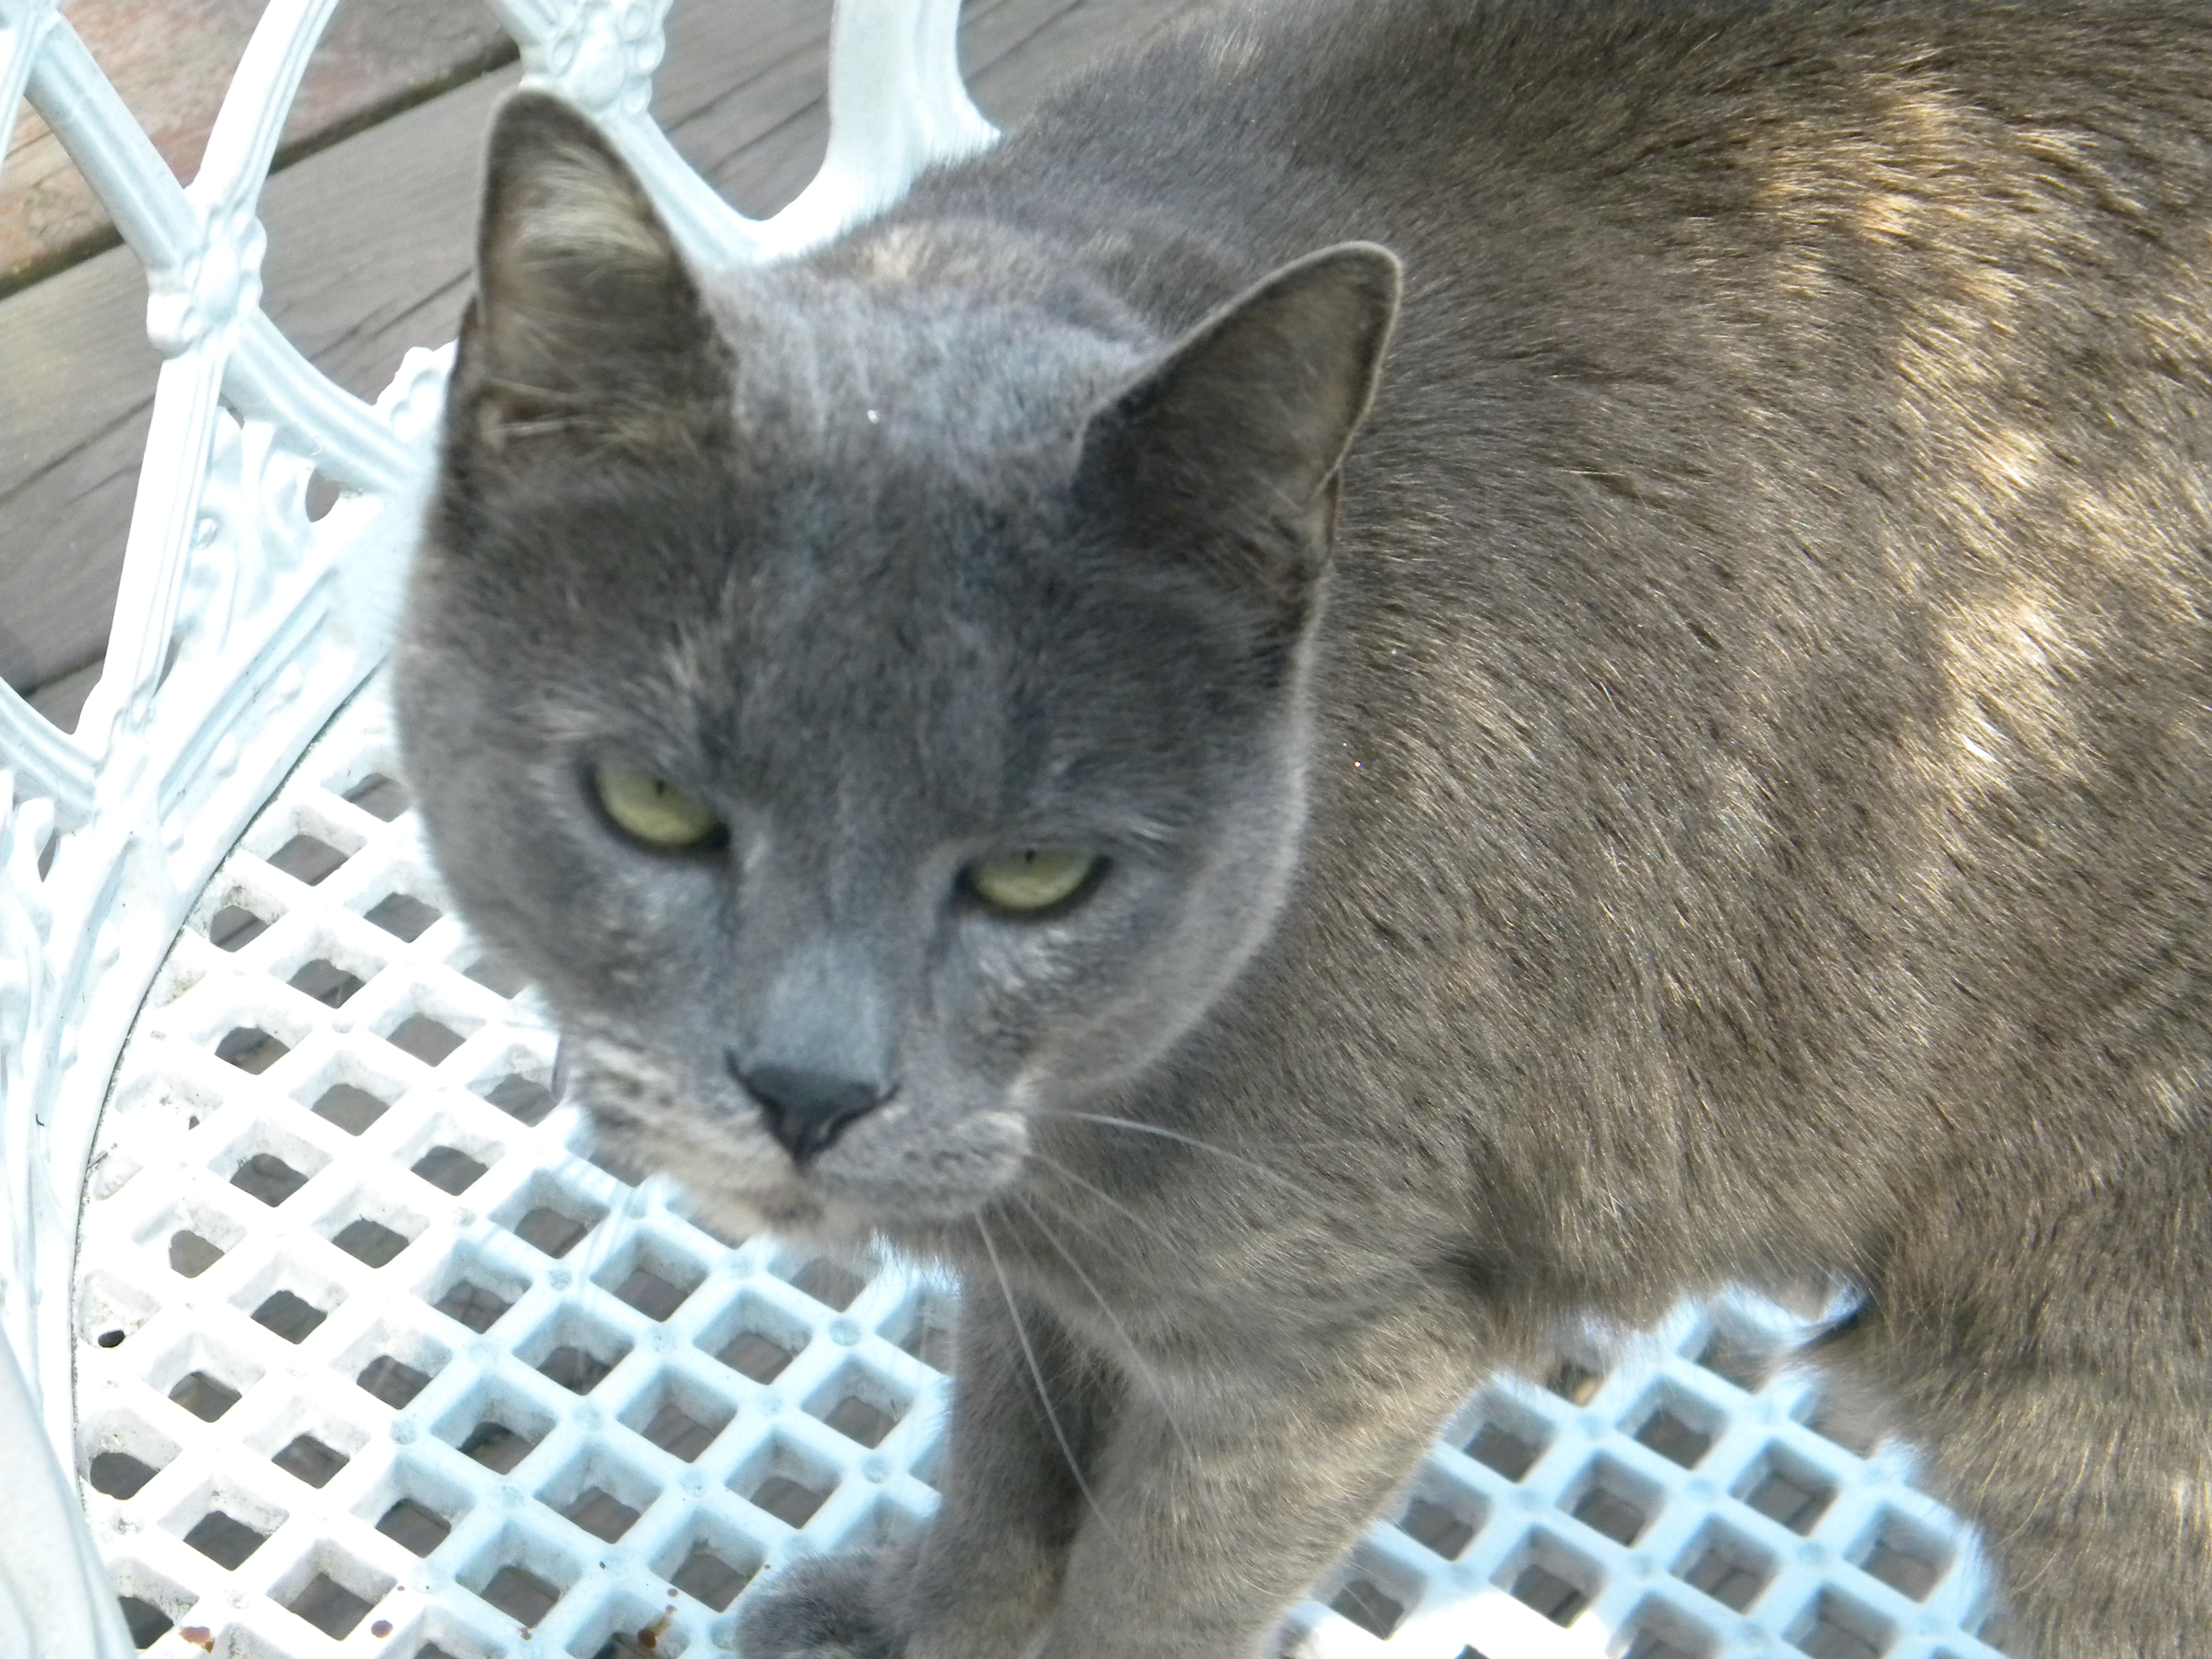
Just look at all that hatred!
One more picture, just for good measure. I was pretty pleased with these in the end, I just did not wear them for long. I was too excited to use more of my new stamps!!!
